Installing the system
Here are the steps of the installation (please remember that some of the steps may differ depending on the distribution):
1. Welcome screen
2. Keyboard language configuration
3. Network configuration
4. Time Zone configuration
5. Setting up the root account
6. Disk partitioning
7. Partitioning the system
8. Adding partitions
9. Boot loader configuration
10. Installation of the system
11. Installation is complete
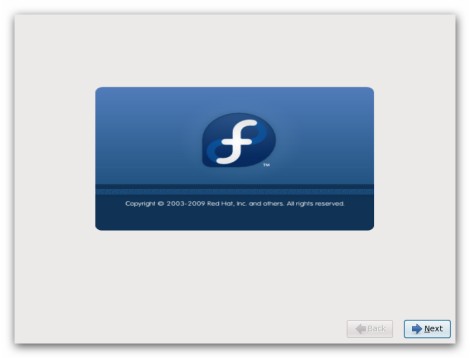
1. At the very beginning you see the Welcome screen which means that the installation process has been just started. Given step does not prompt you for any input.
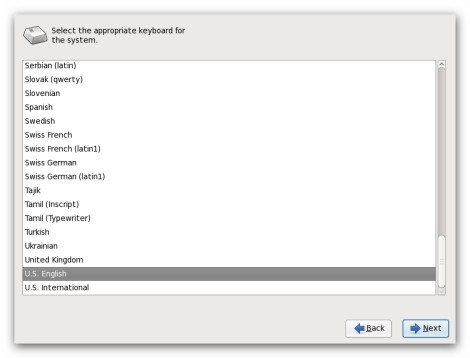
 2. Select a keyboard language for the system from the list of supported languages. The language you choose will be used for the installation and as the system default. Selecting the appropriate language helps the installation program to define you time zone configuration (the step which goes just after this one.
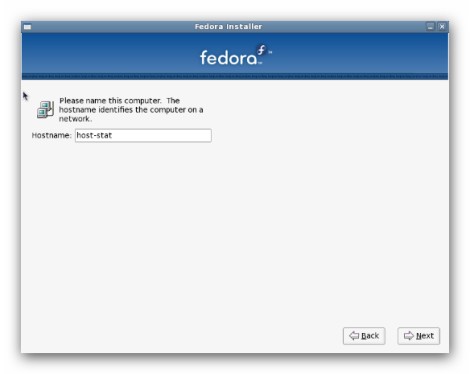
3. Despite the fact that this step is generally missing in the installation of other distributions, while installing Fedora setup prompts you to supply a host name and domain name for this computer, in the format hostname.domainname. Many networks have a DHCP (Dynamic Host Configuration Protocol) service that automatically supplies connected systems with a domain name, leaving the user to enter a hostname. Moreover some of the networks have DCHP services which provide hostname as well.
The complete hostname includes both the name of the machine and the name of the domain of which it is a member, such as machine1.example.com.
4. Choose your time zone by selecting the city closest to your physical location. You can zoom in or out to find the city you need. In fact there are two ways of specifying the time zone: using the interactive map or the list which includes all the cities you can find on the map.
Make sure that you enable “System clock uses UTC” option just in case Fedora is the only operating system on your computer. If there is Microsoft Windows installed leave the box unchecked because Windows change the BIOS clock to math local time rather than UTC (checking the box may cause unexpected behavior under Fedora).
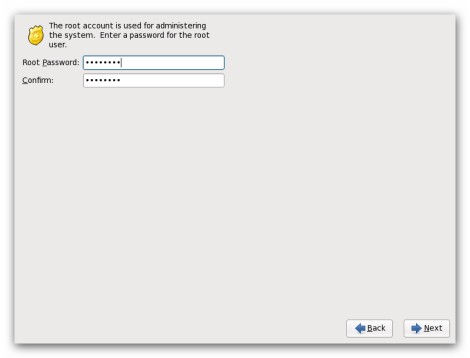
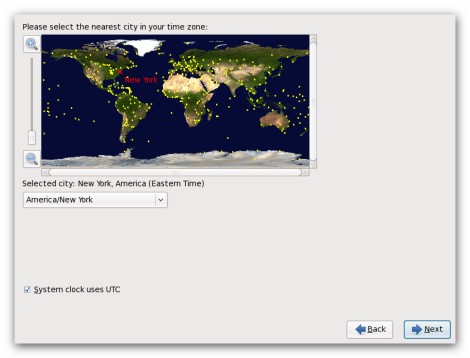 5. This is a very important step because by entering the root password you set up a root account, which is very similar to the administrator account used in Windows. You should always remember the root password because logging in as root gives you complete control over the system; if you don’t, you won’t be able to install packages and perform most system maintenance.
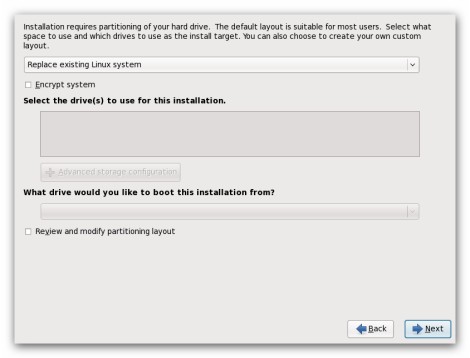
6. If you didn’t create a partition for the installation of the distribution you can make it in this step. Partitioning allows you to divide your hard drive into isolated sections, where each section behaves as its own hard drive. Partitioning is very useful if you run multiple operating systems.
There are five options to choose from:
- Use entire drive
- Replace existing Linux system
- Shrink current system
- Use free space
- Create custom layout
As you probably understand first four options allow you to perform an automated installation without having to partition your drive(s). However if you would like to do it manually, you need to choose “Create custom layout” option (this is the option we are going to review).
